Tutorial (User guide)
The following is a tutorial intended to serve as a step-by-step guide to the use of RSL III 2D. In the example shown, the local seismic response of an embankment is evaluated, but the same steps can be carried out to analyse the local seismic response of any problem.
Video tutorial
The steps shown in the video are also described below.
STEP 1
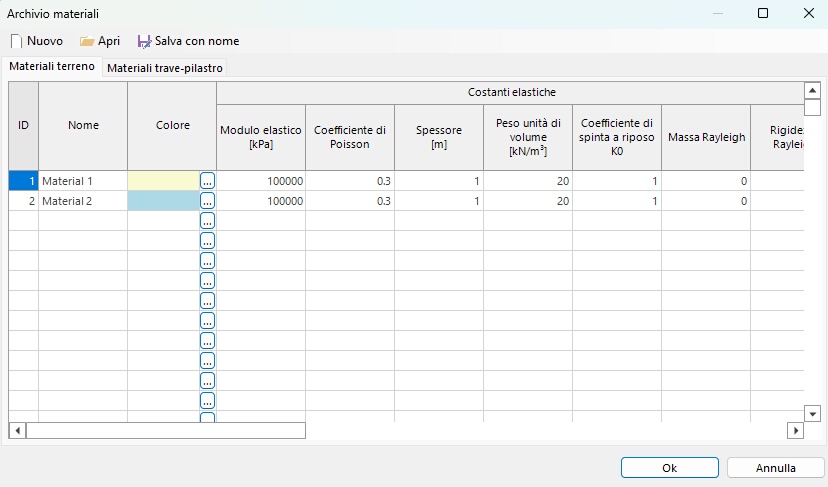
Assign the geotechnical characteristics of the soils involved.
STEP 2
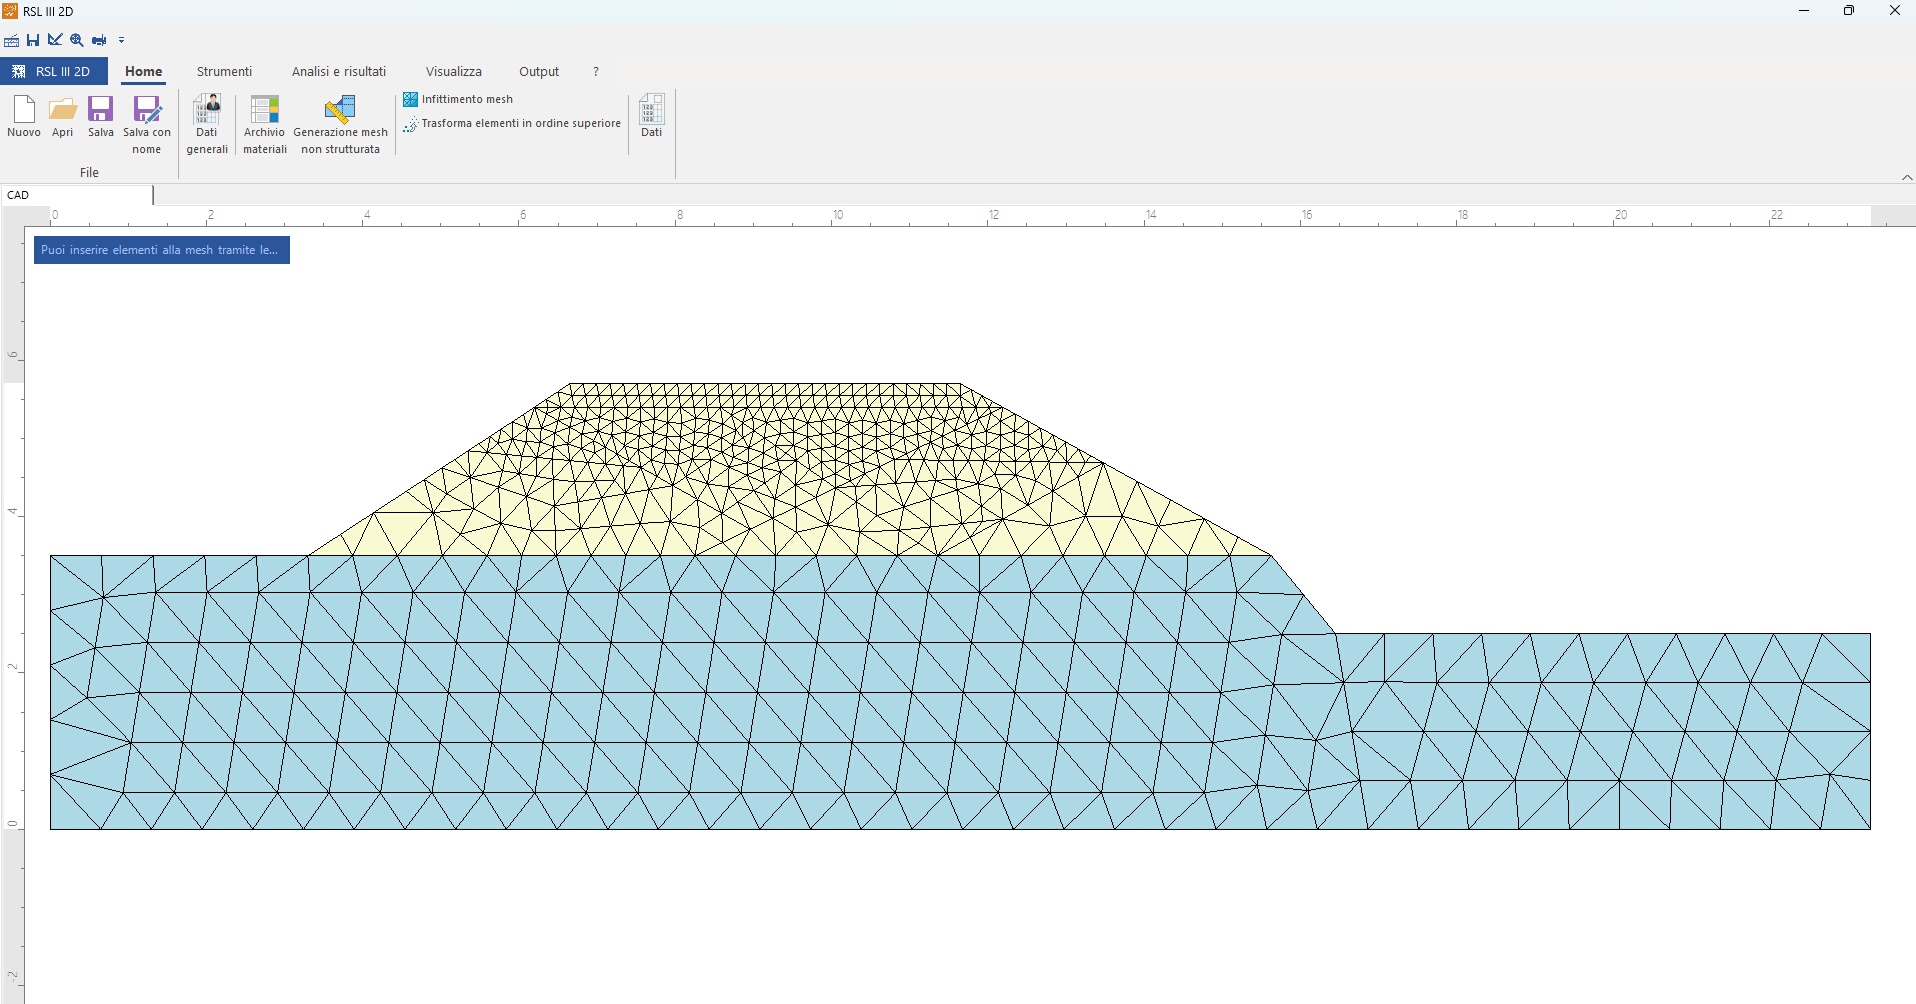
Define a geometric model that represents the problem to be analysed and generate the related calculation mesh.
STEP 3
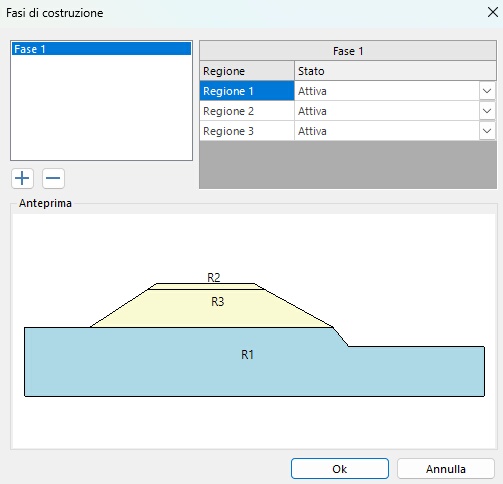
Define two calculation phases in order to:
1) compute the stress state of the soil;
2) perform the local seismic response analysis.
STEP 4
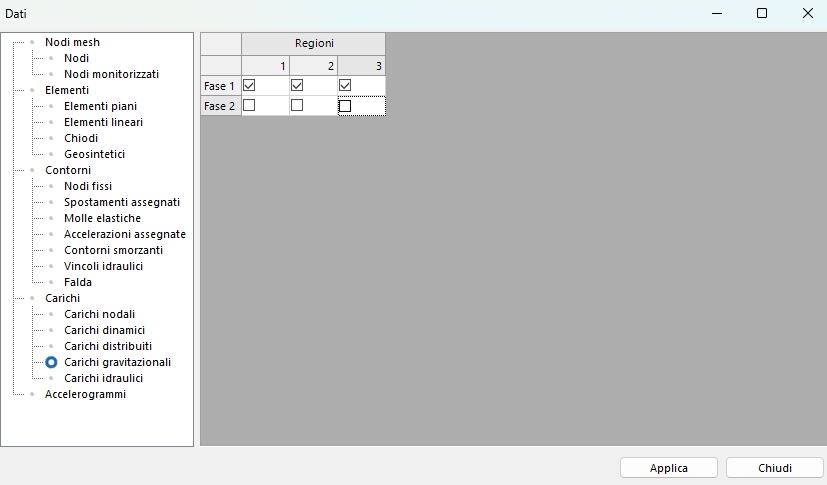
Assign the gravitational loads only to the first calculation phase, and deactivate them for the second:
STEP 5
Assign the boundary conditions, which must be different for the two calculation phases:
-
Phase 1: the displacements in the horizontal and vertical direction are blocked along the lower edge of the model, while only the displacements in the horizontal direction are blocked along the lateral surfaces;
-
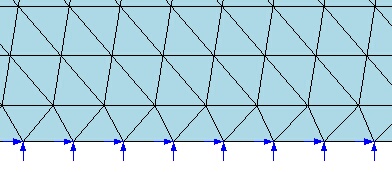
Phase 2: the absorbing boundaries are assigned along the vertical and lower edges of the model. In addition, the displacements in the vertical direction are blocked with reference to the lower edge. Finally, this last edge must be prepared for the application of an accelerogram.
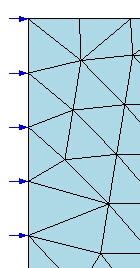
Constraints Phase 1

Constraints Phase 2
STEP 6
Add any monitored nodes.

STEP 7
Import the input accelerograms to be used to perform the analyses.

STEP 8
Perform the local seismic response analysis.

STEP 9
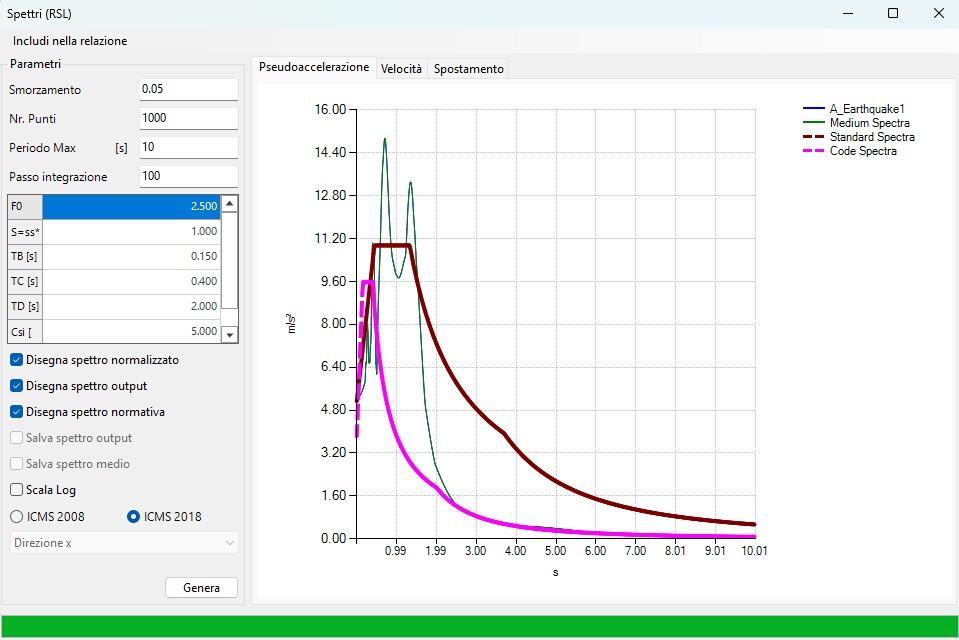
View the results.